In the last post we have learned how to create digitalize map from scanned map of open space. Now we are going to try creating a digitalize map of flood zone in bekasi city, Indonesia. Fortunately some blogger has upload the scanned flood zone, such as link here. Many sources for downloading Bekasi city shapefile e.g here. Officially you can buy thematic map on bakosurtanal site.
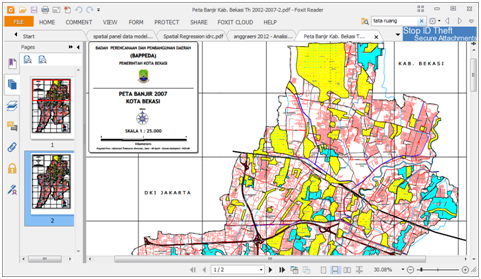
Of course you should have Bekasi City shapefile that have already been digitized. The bekasi city map can be download here. Start your ArcGIS with new project and open bekasi city shapefile. You have to match the shapefile to flood zone. The pdf file have to be converted first into image. If you do not have the conversion tool to image you can use online version e.g link here.
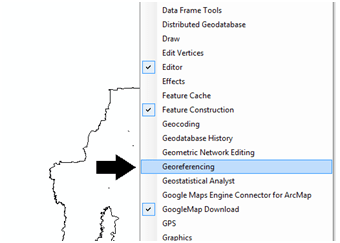
Add shapefile from menu/icon and chose the image to be matched with the bekasi city region shapefile. Some image may be contain band_1, band_2, and band_3, but others may just one image. You have to activate georeferencing menu toolbar.
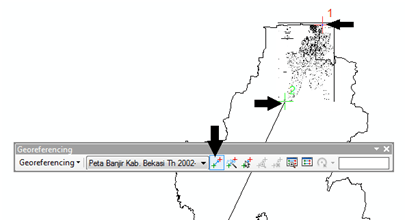
Choose at least two point from image that match the shapefile. Arcgis will automatically match the two maps. And now we start to draw the flood region. Use zoom to layer for helping you finding point to match.
I think the map we have just drawn is very important, especially for someone who want to buy or build house in Bekasi city. No one want water in his/her house 😀. I have lived in the location shown below for 2 years and now move to another place, of course without terrible flood.

